Select Managers Screen from the Quick Menu on the left side of the screen, then select Configuration > Sales and Catering =>.
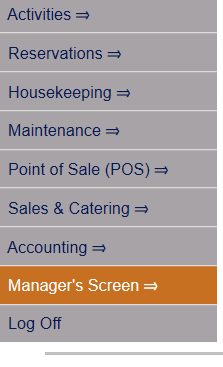
Select Manager's Screen to be taken to the MANAGER'S COMMANDS screen.

Select Configuration to be taken to the PROPERTY AND SYSTEM CONFIGURATION screen.

Alternately, you may also be able to select Configuration directly from the Quick Menu, if the menu has been set up to include the Configuration option.
This will take you to The Property System Configuration Menu.

The list of property configuration options are divided into four sections, which are Required Configuration, Optional Configuration, Locales/Dates and Sub-Systems.
Select Sales and Catering => from the Sub-Systems section.
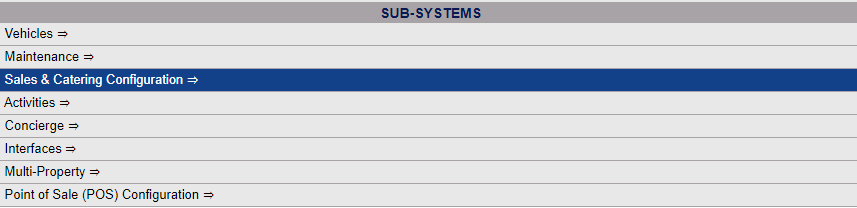
This will open the Sales and Catering Configuration Menu.
The Sales and Catering Configuration Menu has four sections: Sales, Catering, Menus and Inventory.

Select Audio Visual inventory Items from the Inventory section.

When opened, the Audio Visual Inventory Items Maintenance screen display is split into two frames, with the left side of the screen listing any already configured Audio Visual Inventory Items for the Property and the right side containing the fields you need to complete in order to add or edit an Audio Visual Inventory Item for the Property. Any changes made on the right, once saved, will be updated in the listings to the left. Enter the different Audio Visual Inventory Items for your Property.

The currently configured options are displayed by:
Order: List Order of the Audio Visual Inventory Items. This will display your Audio Visual Inventory Items in the order you desire in the interface. If there is no list order number, the Audio Visual Inventory Items will be displayed alphabetically.
Code: The Audio Visual Inventory Item Code, a short version of a name for the specific Audio Visual Inventory Item. Codes can be up to 10 characters.
Description: The actual name of the Audio Visual Inventory Item or how you wish to refer to it.
Your options include the following:
Generate a new entry:
Click the New  button from the toolbar to add a new Audio Visual Inventory Item.
Complete the fields described below.
OR:
Select an existing Audio Visual Inventory Item from the list on the left, and click the Replicate  button from the toolbar. Then change the field information as described below.
Edit the current selection:
Change the field information described below.

Code: This should be the short version of the Audio Visual Inventory Item name, that will be used in the interface when selecting options. Codes should be easily recognizable by your staff. Codes may be up to 10 characters in length.
This field is required.
List Order: This determines in what order the Audio Visual Inventory Item appears listed in the interface.
Enter a number into the List Order field.
This field is optional, however it we recommend that you list the Audio Visual Inventory Item in the order you prefer. This makes it easier for staff to find the Audio Visual Inventory Item they need in the interface.
Description: This is the description of the Audio Visual Inventory Item. You should enter the full description of the Audio Visual Inventory Item here.
This field is required.
Location: This is where you keep the Audio Visual Inventory Item when it is not in use, if applicable.
Total Quantity: Enter the total number of the particular Audio Visual Inventory Item that you have available here.
Track Quantity?: This box may be checked or unchecked. If checked, Skyware Systems will track the inventory you have available versus already assigned, to ensure you do not over-commit your Audio Visual Inventory items.
Price: If there is a charge associated with using this Audio Visual Inventory Item, enter the amount here. By default the price is entered as 0.00 (no charge).
Posting Type: Posting Types are used to post charges. This field is required IF you have entered a price for using this Audio Visual Inventory Item, to allow the revenue to be attributed appropriately. This is a drop-down menu of available options, select one.
Not Active?: This box may be checked or unchecked. By default, it is unchecked. If an Audio Visual Inventory Item is currently not active (for example seasonal options such as outdoor sound systems) this box may be checked.
When you are finished adding or editing an Audio Visual Inventory Item, click the save button ( ) in the local tool bar.